
TL;DR
The right leather car seat repair kit depends on the damage first, not the brand name on the box. For most people, the best choice is a complete kit with cleaner, flexible filler, adhesive, backing material, color tools, and a finish coat; if you are dealing with a large tear, split seam, or a hard-to-match tan or gray interior, professional upholstery repair is often the better value.
What Leather Car Seat Repair Kits Actually Are
A leather car seat repair kit is a DIY upholstery fix for minor damage on a vehicle seat, not a magic reset button for every worn-out interior. The good kits are meant to handle small scuffs, surface cracks, worn color, light gouges, and sometimes tiny punctures or short tears. They work best when the damage is localized and the seat material around it is still sound.
That distinction matters. A faded spot on a driver-seat bolster is very different from a split seam, missing foam, or a long tear across a seating panel. Research and buyer reviews point to the same pattern: cosmetic damage is often DIY-friendly, but structural upholstery damage usually is not. If the leather has ripped through, the stitching has failed, or the area flexes heavily every time you sit down, the repair has to do more than hide the problem. It has to move with the seat.
That is why a worthwhile kit usually includes more than dye. A complete setup often has a cleaner or prep solution, flexible filler for cracks, adhesive, a backing or canvas patch for small holes, colorant or mixable pigments, applicators, and a top coat or sealant. Some kits also include sanding pads, grain paper, or texture tools to help the repaired area sit flatter and look less obvious. Furniture Clinic’s category guidance is useful here because it reflects what complete leather repair systems normally include and the kinds of damage they are built to address.
The biggest mistake shoppers make is buying a cheap recoloring kit when the seat really needs stabilization first. Dye alone cannot bridge a puncture. Likewise, filler alone will not solve a color mismatch. On black interiors, DIY work can blend fairly well. On tan, gray, blue, red, or sun-faded leather, matching the tone and sheen is often the hardest part.
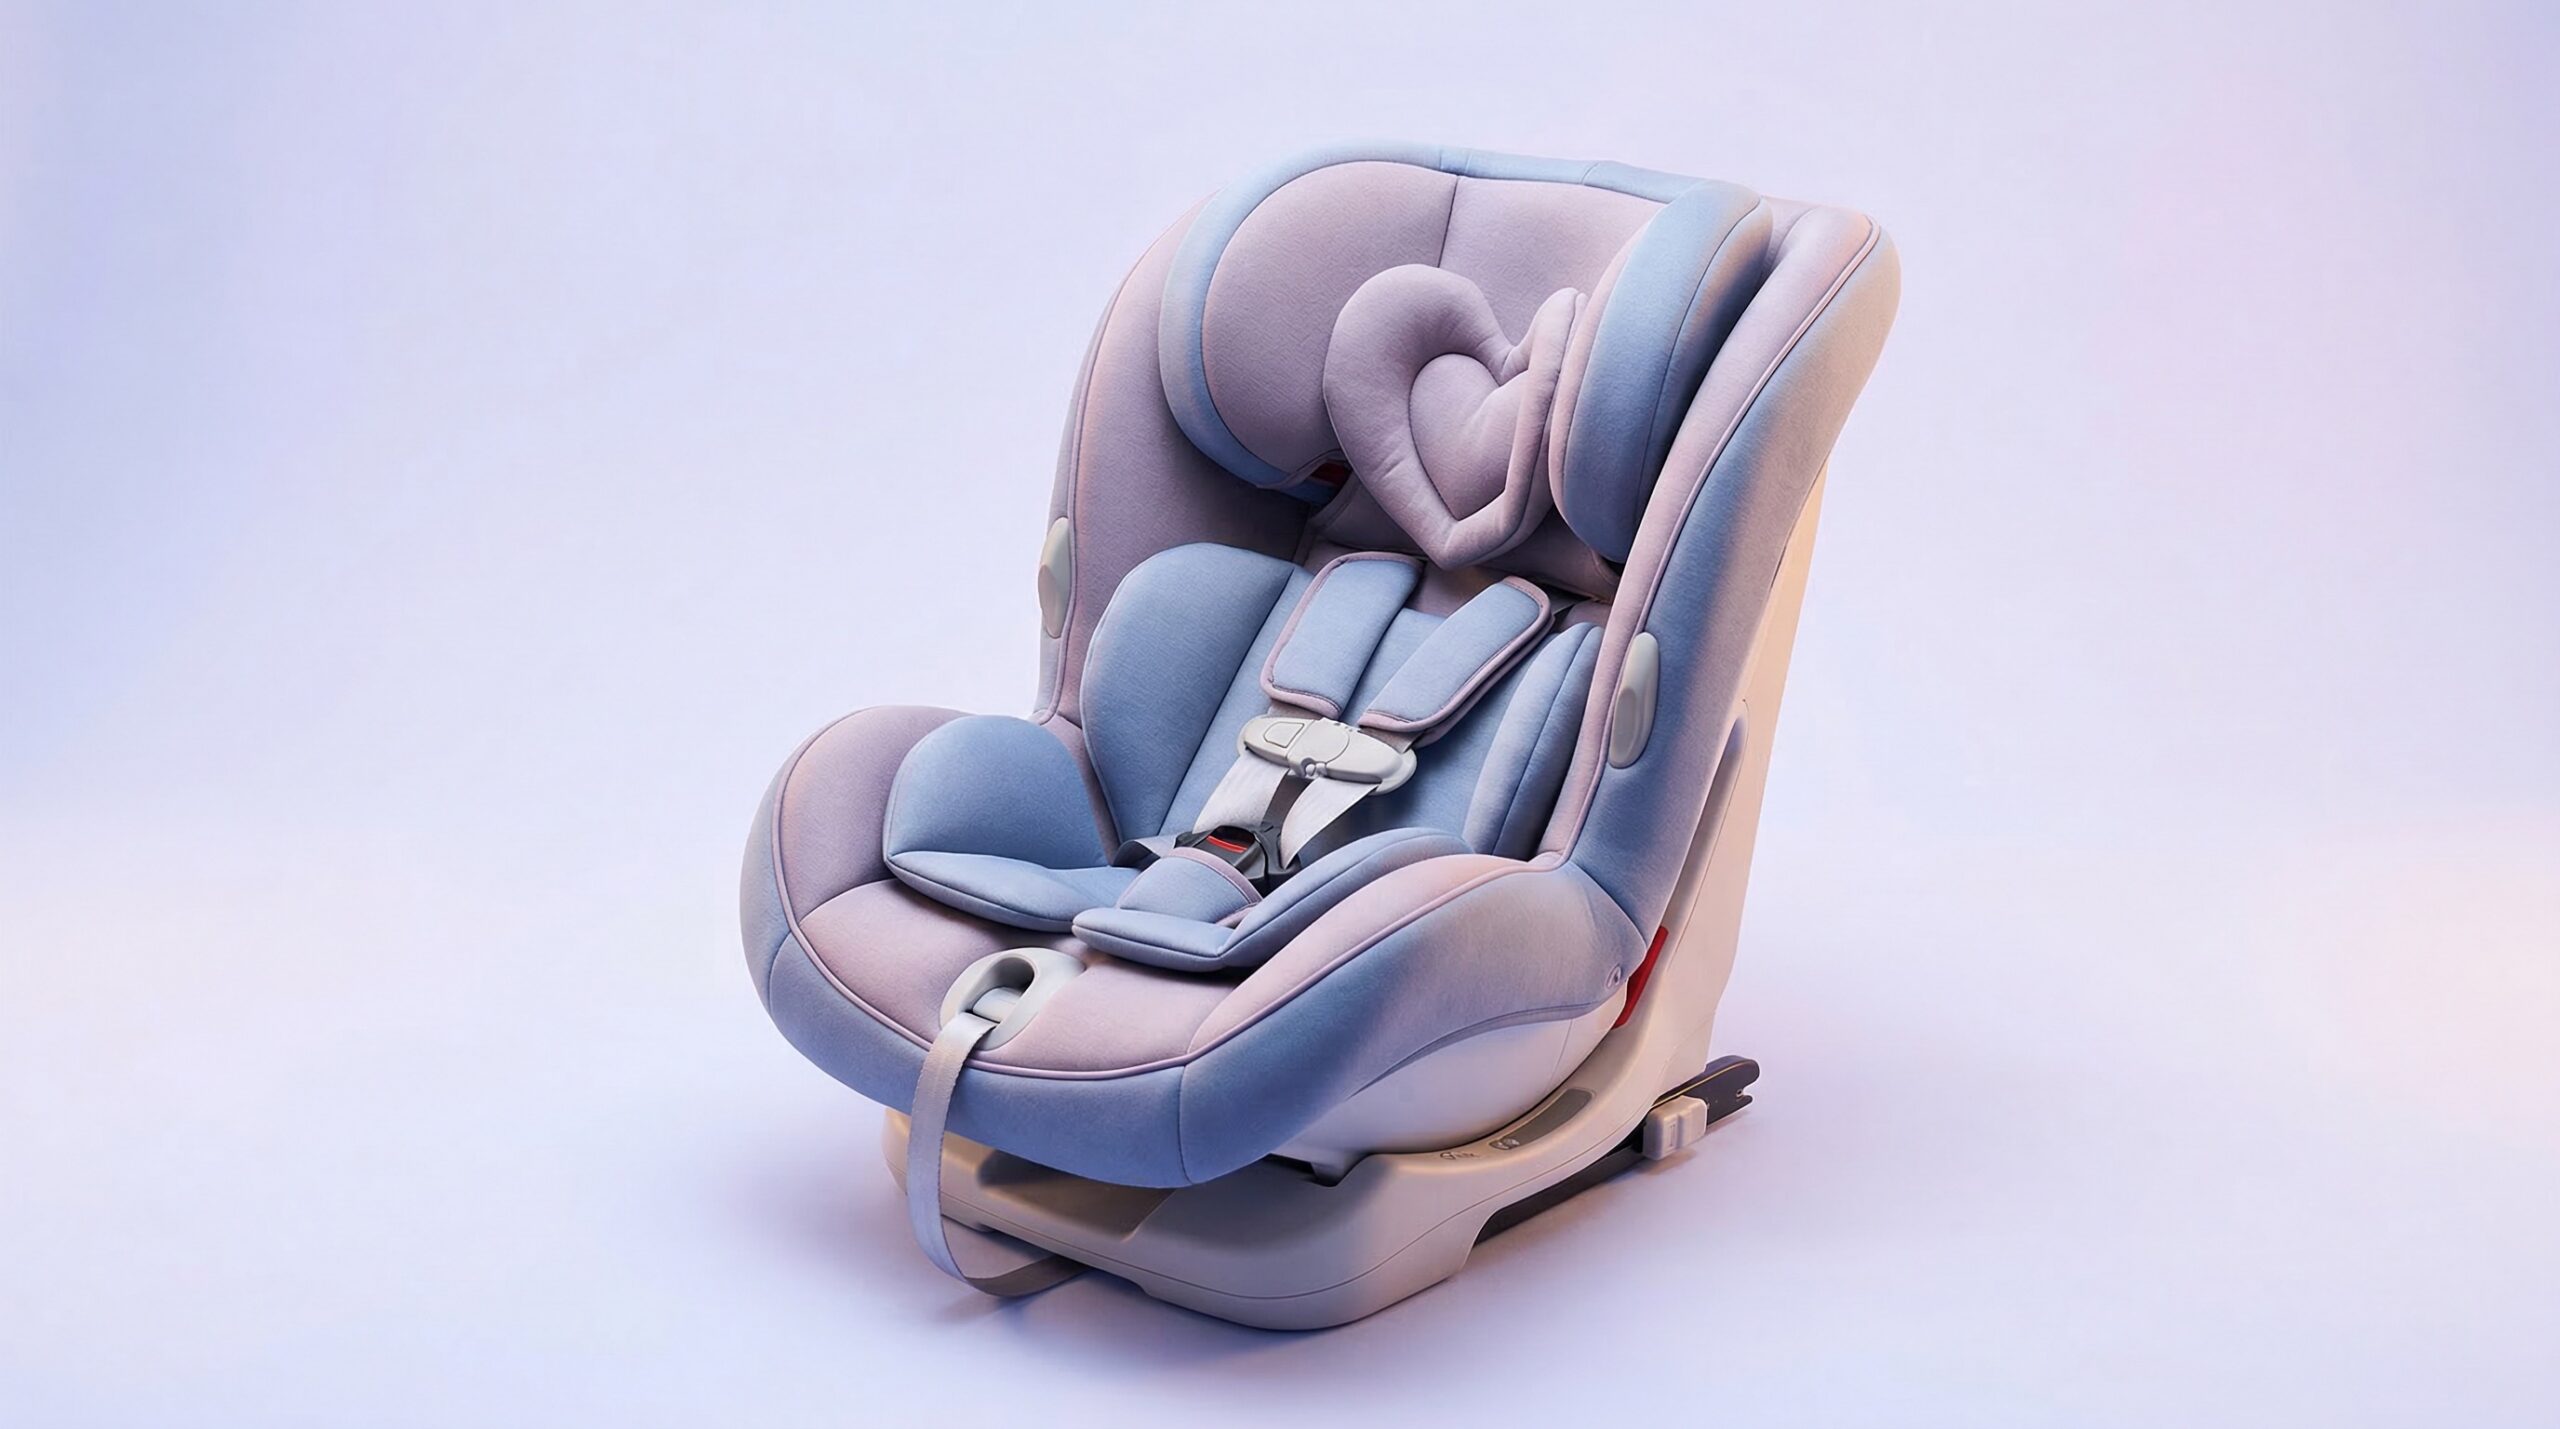
One more point for baby-gear readers: this advice is about a vehicle’s adult upholstery, not a child restraint. Do not use leather compounds, adhesives, patches, or aftermarket materials on a child’s car seat unless the manufacturer specifically allows it. For safety guidance on child restraints, start with NHTSA car seat safety and the American Academy of Pediatrics.
Who Leather Car Seat Repair Kits Fit Best
These kits fit best for drivers who have one or two small problem spots and realistic expectations. If your seat has light cracking on the bolster, a scuffed edge, worn-through color, or a tiny puncture that has not spread, a DIY kit can be a sensible first step. It is especially reasonable when the seat is otherwise in good shape and you are trying to improve appearance, slow further wear, and avoid paying for full panel replacement.
They also make sense for hands-on shoppers who do not mind prep work. The best results usually come from careful cleaning, thin layered applications, cure time between steps, and patient color testing. If you enjoy small restoration projects, a complete kit can save money and make an older interior look much better.
DIY repair is often a better bet on black interiors because generic black is easier to blend than most tans or grays. It can also work well on passenger seats or lower-contact areas that do not flex as aggressively as the outer driver bolster.
Buyer reviews commonly praise kits when the job matched the kit’s limits. “Worked great on a small crack once I cleaned the area and did thin layers” — verified buyer, 5 stars. That kind of feedback lines up with the broader pattern we see in parent reports and owner comments: modest damage plus careful prep gives you the best shot at a decent-looking repair.
This category is also a fit if you understand that “good enough” is often the goal. A DIY patch may not become invisible, but it can stop a crack from growing, make a worn spot less distracting, and buy time before professional work becomes necessary.
Who Should Skip Leather Car Seat Repair Kits
You should skip the DIY route if the seat has a large tear, split seam, missing material, exposed foam, or broad wear across an entire panel. Those problems usually need upholstery tools, stronger reconstruction, and often a panel replacement rather than a surface-level fix. Once the damage is structural, buying separate filler, adhesive, colorants, and texture tools can add up fast without delivering a result you will actually like.
It is also smart to skip DIY if your interior color is difficult to match and the damage sits in a very visible area. Tan, gray, blue, red, and aged leather often have uneven fading, body-oil darkening, or gloss changes that make a repair stand out. Even when the color looks right wet, it can dry lighter, darker, shinier, or flatter than the surrounding leather.
If the damage is on the outer driver-seat bolster, be extra cautious. That is one of the highest-friction, highest-flex areas in the cabin. Stiff filler or a thick top coat may crack again quickly there.
Critical buyer feedback usually comes back to expectations and color. “The repair held, but the color match was still obvious in daylight” — verified buyer, 2 stars. That is a fair warning. A technically sound repair can still look disappointing if the shade or sheen is off.
And again, this is not a fix for a child restraint. If a child’s car seat cover, harness, shell, foam, or labels are damaged, follow the manufacturer’s instructions and established safety guidance instead of trying an upholstery workaround. You can also check the CPSC product recalls database if you are concerned about a recalled component or product issue.
Pricing and How to Buy
Value in this category is less about the lowest price and more about whether the kit matches the damage. Cheap kits that include only dye and a sponge can look appealing, but they are often the worst buy for anything beyond a tiny surface scuff. If your seat has cracking, a shallow gouge, or a small puncture, you generally need prep supplies, flexible filler, adhesive, and some kind of backing material in addition to color.
That is why complete kits usually offer better value than piecing together separate items one by one. Even if the upfront cost is higher, you are less likely to redo the repair or buy a second product after the first attempt fails. The same logic applies to color options: a mixable-pigment kit can be worth the extra spend if you have tan or gray leather, because a one-bottle generic shade is where many disappointing results start.
Professional repair becomes the better value sooner than many shoppers expect. If the seat has a long tear, a damaged seam, or wear across a large visible section, paying a specialist can be cheaper than buying multiple products and still ending up with a patch you dislike. That is especially true if you only have one seat to fix and do not expect to use the leftover materials again.
A good rule of thumb is simple: buy a DIY kit for a small, isolated problem; price out a pro for anything broader, deeper, or more visible. That cost check is worth a few minutes before you commit.
Common Mistakes When Trying Leather Car Seat Repair Kits
The most common mistake is misdiagnosing the damage. People often treat a real tear like a scuff, or a crack like simple color loss. If there is an opening in the material, you need support underneath it. That means backing material and adhesive, not just colorant on top.
The second big mistake is poor prep. Car seats collect body oils, conditioners, dirt, and protectants, especially on the driver bolster. If the area is not properly cleaned and degreased, filler and color can lift, bead, or peel early.
Another frequent problem is applying too much product at once. Thick filler tends to dry unevenly, stay obvious, or crack when the seat flexes. Better results usually come from building in thin layers, letting each step cure fully, then lightly leveling before the next coat.
Color matching is where many DIY jobs go sideways. Testing on a hidden spot matters because worn leather often no longer matches the original factory shade. You also need to think about finish level. A color that is close can still look wrong if the repaired spot is much shinier or flatter than the rest of the seat.
Buyer reviews regularly mention patience as the deciding factor. “Take your time and don’t try to cover it in one coat” — verified buyer, 5 stars. That advice is simple, but it matches what tends to work best in real use.
The last mistake is using the seat too soon. Outer bolsters flex immediately when you slide in and out of the car. If the final coat has not cured, even a decent repair can fail early.
FAQ
Can a leather car seat repair kit fix a tear?
Sometimes, but only small tears or punctures. If the kit includes backing material and adhesive, it may stabilize a short split or tiny hole well enough for a cosmetic repair. Large tears, failed seams, exposed foam, or damage that runs across a panel usually need professional upholstery work.
Are leather car seat repair kits permanent?
Usually not permanent in the same way as replacing a panel, but they can last well on minor damage if the area is prepped correctly, repaired with flexible materials, and sealed. High-friction areas like outer bolsters tend to wear again faster than low-contact sections.
What is the hardest part of repairing leather car seats?
Color matching is usually the toughest part. Black is often the easiest shade to blend. Tan, gray, blue, red, and sun-faded interiors are harder because the surrounding seat may have aged unevenly, which makes even a decent color match look obvious from certain angles.
Is a cheap leather repair kit good enough for car seats?
It can be good enough for a tiny scuff or a very small spot of color loss, but many low-cost kits are basically dye-only touch-up sets. Car seats flex constantly, so they usually benefit from flexible filler, proper prep supplies, and a finish coat rather than color alone.
Should I repair or replace the seat cover?
Repair makes sense when the damage is small, localized, and the rest of the seat is in solid condition. Replacement or professional reupholstery makes more sense when the tear is large, the panel is badly worn, the foam is affected, or matching the finish across a broad area would be unrealistic.
Can I use a leather repair kit on a child’s car seat?
In most cases, no. A child restraint is safety equipment, and aftermarket compounds, patches, adhesives, or replacement fabrics can interfere with crash performance, flammability requirements, labels, or harness function. Follow the manufacturer’s instructions and review NHTSA car seat safety for broader safety guidance.
How do I know whether my seat is real leather, vinyl, or synthetic leather?
Start with your vehicle manual or trim information, because many seats use a mix of materials. That matters because some kits work better on true leather while others are more universal for vinyl and synthetic surfaces. If you are unsure, test the product in a hidden area before tackling a visible section.
When is professional repair the smarter choice?
Professional repair is usually the smarter choice when the damage is large, highly visible, hard to color-match, or located on a heavily flexing section like the outer bolster. It is also the better call when a failed DIY attempt would bother you more than the original damage. For child restraints, any damage involving the shell, straps, foam, or cover should be handled according to manufacturer instructions and pediatric safety guidance from sources such as the American Academy of Pediatrics.
Bottom Line
The best leather car seat repair kit is usually a complete, flexible system sized for small, localized damage, not a bargain dye bottle. If your seat has a major tear, a split seam, or a difficult color match in a prominent spot, skip the trial-and-error and price a professional repair first.
Methodology disclosure: This service guide is based on provider pages, community discussions, representative booking/pricing pages, and provider evaluation criteria. Verify provider credentials, licensing, service scope, and pricing terms before booking.